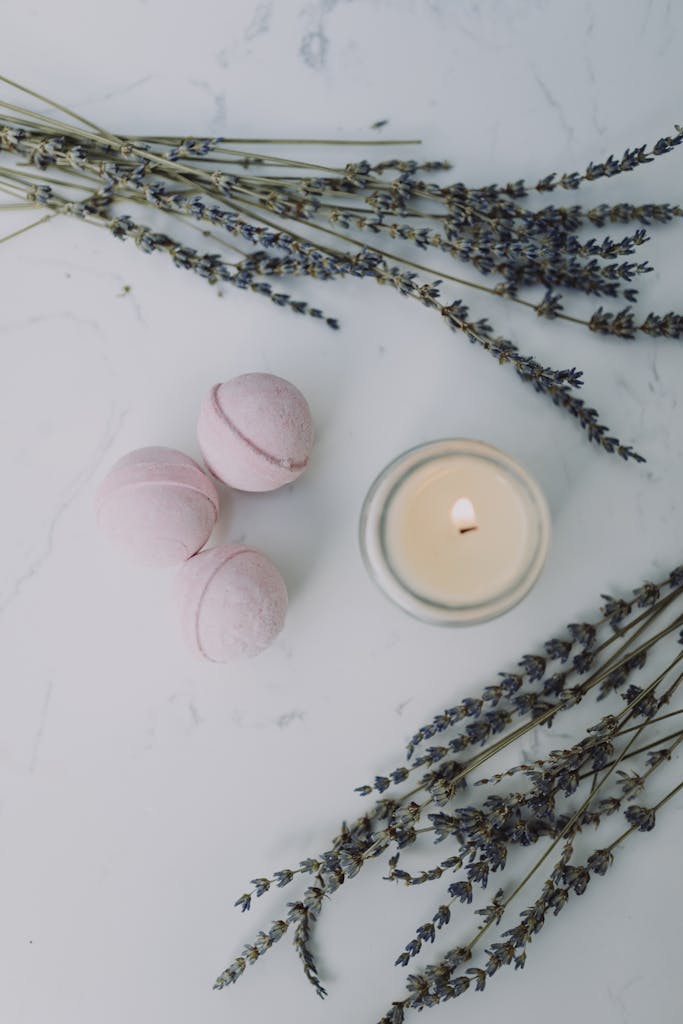
The Ultimate Guide to Creating Homemade Bath Bombs
Today, I’m sharing a fabulous project with you – making your own bath bombs.
In these stress-filled times, who doesn’t need a relaxing soak in the tub with a fizzy bath bomb? 😍
They smell heavenly, they offer bathroom luxury and let’s face it … they can be expensive.
So, why not create your own at home? Yep, I said it!
Plus It’s easier than you think and super fun too!
Down the rabbit hole we go…
Why Homemade Bath Bombs?

First, why bother making bath bombs at home when you can just order them online or grab them at the mall? Here’s my thought—homemade bath bombs are WAY better!
Here’s why:
- Pure, natural ingredients: The DIY route lets you choose natural ingredients and steer clear of nasty chemicals.
- Cost-effective: These little pampering bad boys can be pricey. Homemade versions? Pennies!
- Customizable: Want extra lavender for relaxation or Jasmine for an uplifting vibe? No problem. At home, you’re the boss of your bath bomb.
If you love DIY , then this project is definitely for you. It’s a simple and satisfying process that will leave you feeling accomplished and proud of your creation.
Essential Bath Bomb Ingredients
Alright, now let’s move on to the ‘what, do I need??’ part. Here’s a simple list to get you started:
What You’ll Need
- 1 cup baking soda
- 1/2 cup citric acid
- 1/2 cup Epsom salt
- 1/2 cup cornstarch
- Essential oils of your choice
- Food coloring or natural colorants
- Water in a spray bottle
- Bath bomb molds
- Baking Soda and Citric Acid: This combo gives the bath bombs their fantastic fizz.
- Epsom salts: Not just for your grandma’s foot bath! They soothe sore muscles and relax the body.
- Oils: Coconut, almond, or even simple olive oil. They make the bath bombs moisturizing.
- Essential Oils: Choose your scent note. Relaxing lavender, energizing citrus, healing tea tree – take your pick.
- Food coloring – to add pretty colors!
Making Your Homemade Bath Bombs

Alright! Hands-on deck, it’s time to make our spa-worthy bath bombs!
- Mix the dry stuff: Grab a bowl and mix together baking soda, citric acid, and Epsom salts. Mix until well combined.
- Get Greasy: Pick your preferred oil and add in. Measure carefully! Too much oil makes them too greasy, too little, and they crumble apart.
- ‘Scent ’sational: Add in your chosen essential oils. Do it carefully, oils are potent!
- Color me Happy: Now, it’s time to splash in some color! Go easy unless you want a tub looking like a unicorn puked!
At this point, your mixture should stick together when squeezed…think damp sand in a sandcastle. If not, add a spoon of more oil.
- Shape it: Now, pack the mixture into molds. You can use a silicon cupcake tray, fancy bath bomb moulds, or even Christmas ornament- whatever rocks your boat.
- Wait: Patience, patience! Your bath bombs need time (overnight, preferably) to harden.
That’s it,. Your homemade bath bombs are all set!
Conclusion
I can’t get enough of these little bath luxuries.
They have all the pop and fizz of store-bought ones but are much better for your skin and the environment.
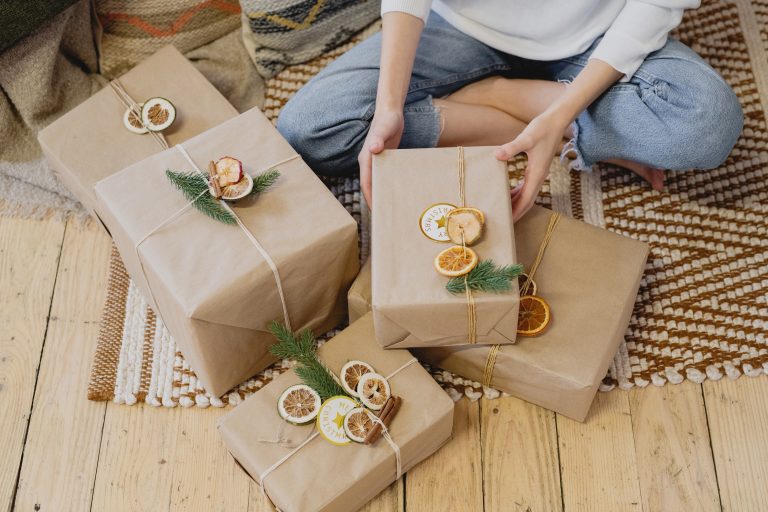
And they make incredible presents!
So go ahead, channel your inner DIY, and try out your very own bath bombs!
Remember, there’s no right or wrong here; feel free to tweak the recipe to suit your own preferences.
Can’t wait to see what flavors and colors you come up with!
They have all the pop and fizz of store-bought ones but are